Looking for a fast, affordable, and professional logo design tool? In this Logome.ai review, we’ll explore how this AI powered platform is transforming the way startups, solopreneurs, and digital creators build their brands without hiring expensive designers.
If you’re launching a new business or refreshing your visual identity, keep reading. Logome.ai might just be the branding shortcut you’ve been looking for.
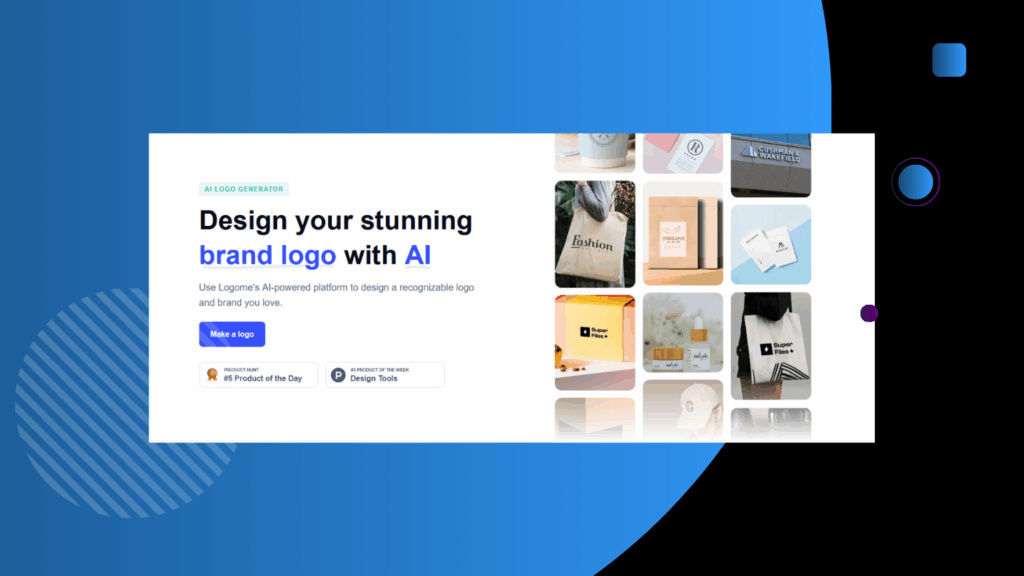
What is Logome.ai?
Logome.ai is an AI driven logo maker that helps you create beautiful, custom logos in just a few clicks. Whether you’re starting a blog, an e-commerce brand, or a tech startup, Logome.ai generates logo designs based on your brand name, slogan, and industry with no design skills required.
🧠 Powered by Artificial Intelligence: The tool uses advanced algorithms to understand your brand and deliver tailored logo concepts in seconds.
🎨 Fully Customizable: After selecting a design you like, you can easily tweak colors, icons, fonts, and layout to make it 100% yours.
💼 Ready-to-Use Files: Download high resolution files instantly for your website, social media, business cards, or merchandise.
Why Logome.ai Stands Out (Compared to Other Logo Makers)
There are many logo generators out there, but here’s what makes Logome.ai different and why it’s becoming a favorite among digital entrepreneurs:
| Feature | Logome.ai | Traditional Design |
|---|---|---|
| 💰 Cost | Affordable one-time payment | Expensive freelancer rates |
| ⏱️ Time | Instant results | Days or weeks |
| 🧠 Smart Suggestions | AI-powered ideas | Manual brainstorming |
| 🎨 Customization | Full control | Limited revision rounds |
In short, Logome.ai puts the power of a professional designer in your handsinstantly and affordably.
Who Should Use Logome.ai?
Logome.ai is perfect for:
- 🧑💻 Entrepreneurs starting a side hustle or online business
- 📱 Content Creators who want clean, branded visuals
- 🛒 Shopify or Etsy Sellers needing a consistent brand look
- 🚀 Startups launching quickly without a design budget
If you’re someone who values time, quality, and simplicity, Logome.ai can help you move from idea to execution fast.
My Experience with Logome.ai
I tested Logome.ai for a few brand concepts, and I was genuinely impressed:
✅ The AI asked smart, relevant questions about my brand
✅ It gave me over 20 solid design options within seconds
✅ I easily customized the logo I chose no technical skills needed
✅ Downloaded all the files in high resolution, ready to use
I’ve used other AI logo makers, but this was by far the most intuitive and enjoyable.
Logome.ai Pricing
Logome.ai offers a simple pricing model: pay once, and the logo is yours forever. No monthly fees. No surprises.
That’s ideal if you’re on a budget but still want to look like a serious brand.
Final Verdict: Is Logome.ai Worth It?
Absolutely. If you want a professional-looking logo without the typical costs or complications, Logome.ai is a no-brainer.
It’s perfect for creators and entrepreneurs who want to focus on building their business not battling with design software.
Who Should Use Logome.ai?
Logome.ai is perfect for:
- 🧑💻 Entrepreneurs starting a side hustle or online business
- 📱 Content Creators who want clean, branded visuals
- 🛒 Shopify or Etsy Sellers needing a consistent brand look
- 🚀 Startups launching quickly without a design budget
If you’re someone who values time, quality, and simplicity, Logome.ai can help you move from idea to execution fast.
My Experience with Logome.ai
I tested Logome.ai for a few brand concepts, and I was genuinely impressed:
✅ The AI asked smart, relevant questions about my brand
✅ It gave me over 20 solid design options within seconds
✅ I easily customized the logo I chose no technical skills needed
✅ Downloaded all the files in high resolution, ready to use
I’ve used other AI logo makers, but this was by far the most intuitive and enjoyable.
Logome.ai Pricing
Logome.ai offers a simple pricing model: pay once, and the logo is yours forever. No monthly fees. No surprises.
That’s ideal if you’re on a budget but still want to look like a serious brand.
Final Verdict: Is Logome.ai Worth It?
Absolutely. If you want a professional looking logo without the typical costs or complications, Logome.ai is a no-brainer.
It’s perfect for creators and entrepreneurs who want to focus on building their business not battling with design software.
Frequently Asked Questions
Is Logome.ai free to use?
You can preview logos for free. A one-time fee unlocks full download access.
Can I use my logo commercially?
Yes! All Logome.ai logos come with full commercial usage rights.
Is there support if I get stuck?
Yes, their team offers fast and friendly customer support.
Can I edit my logo after buying?
Yes, you can re-access and tweak your logo after purchase.
Superb, what a blog it is! This blog gives useful
facts to us, keep it up.